Installing a motion sensor wall light outdoors is one of the simplest upgrades a homeowner can make to boost security, save energy, and add convenience. These fixtures automatically illuminate when they detect movement, eliminating the need to fumble for switches with groceries in hand or leave lights burning all night. Modern units have evolved far beyond the harsh floodlights of the past, today’s options offer adjustable sensitivity, multiple brightness modes, and designs that complement any home exterior. Whether mounting beside a garage door, flanking an entryway, or lighting a dark walkway, understanding how these lights work and what features matter most ensures the installation delivers results that last.
Table of Contents
ToggleKey Takeaways
- A motion sensor wall light outdoor fixture uses passive infrared (PIR) technology to detect heat signatures and automatically illuminate when movement is detected, providing enhanced security while reducing energy consumption by up to 90% compared to traditional bulbs.
- Choose a motion sensor wall light with 30–70 feet detection range, adjustable sensitivity, and 700–1,300 lumens output for security applications, plus features like dual-brightness modes and replaceable LEDs for long-term flexibility.
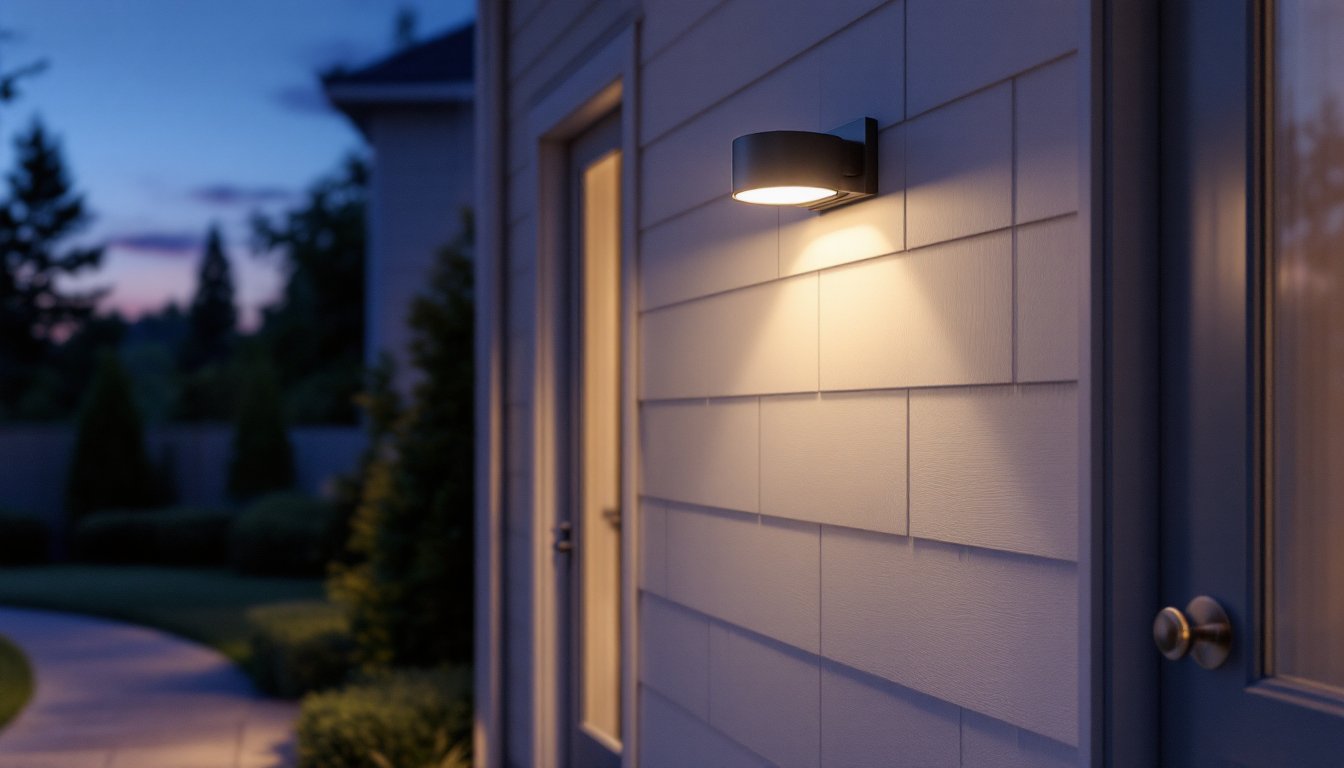
- Mount fixtures 8–10 feet above ground at entry points and transition zones with sensors positioned to detect side-to-side movement rather than head-on approach, while avoiding heat sources and ensuring proper placement for minimal false triggers.
- Turn off power at the breaker, use a non-contact voltage tester, apply weatherproof wire connectors, and seal around the fixture base with silicone caulk—while securing the mounting plate to structural members and never skipping the gasket for proper weatherproofing.
- Adjust timer duration to 1–3 minutes for quick trips or 5–10 minutes for longer activities, check local building codes for permit requirements, and test the detection zone before finalizing connections to catch blind spots early.
What Is a Motion Sensor Wall Light and How Does It Work?
A motion sensor wall light combines a standard outdoor light fixture with a passive infrared (PIR) sensor that detects changes in heat signatures within its field of view. When a person, vehicle, or animal crosses the detection zone, the sensor triggers the light to turn on for a preset duration, typically 30 seconds to several minutes.
Most residential units use PIR technology because it’s reliable and energy-efficient. The sensor measures infrared radiation (heat) emitted by objects. When something warm moves through the background temperature of the environment, the sensor registers the change and activates the light. This is why PIR sensors work best when movement crosses the detection field rather than approaching head-on.
Some advanced models incorporate microwave (MW) or dual-technology sensors that combine PIR with microwave radar. MW sensors detect motion by measuring the reflection of microwave pulses, making them more sensitive and less affected by temperature extremes. Dual-tech systems reduce false triggers by requiring both sensors to detect movement before activation, though they cost more upfront.
The fixture connects to standard household electrical wiring, usually a weatherproof junction box with a 120-volt circuit, and includes controls for adjusting sensitivity, timer duration, and sometimes ambient light threshold (photocell) so the light only activates after dusk. Solar-powered alternatives exist but typically offer lower light output and shorter run times, making them better suited for accent lighting than security applications.
Key Benefits of Installing Outdoor Motion Sensor Wall Lights
Enhanced security tops the list for most homeowners. Motion-activated lighting startles intruders and removes hiding spots around entry points, garages, and side yards. According to research on residential burglary patterns, well-lit properties are consistently less attractive targets than dark ones.
Energy savings add up faster than many realize. A standard 15-watt LED motion light running 30 minutes per night uses roughly 90% less energy than leaving a traditional 60-watt bulb on from dusk to dawn. Over a year, that translates to measurable reductions in electricity costs, especially when multiple fixtures are involved.
Convenience becomes obvious the first time someone arrives home after dark with arms full of groceries or tools. The light activates before they reach the door, eliminating the need to navigate in darkness or leave lights on all evening “just in case.”
Extended bulb life results from reduced operating hours. An LED rated for 25,000 hours will last years longer in a motion-sensor fixture than in one that runs continuously. This means fewer ladder trips for bulb changes and lower long-term maintenance costs.
Motion sensor lights also improve safety on walkways, steps, and uneven terrain where tripping hazards hide in shadows. For households with elderly residents or mobility challenges, automated lighting reduces fall risk without requiring anyone to remember to flip switches.
Essential Features to Look for When Choosing Your Light
Not all motion sensor wall lights perform equally. Matching features to the installation site and intended use prevents frustration and ensures the fixture does its job.
Detection Range and Sensor Sensitivity
Detection range describes how far the sensor can “see” movement, typically measured in feet or degrees of coverage. Entry-level fixtures detect motion up to 20–30 feet, while higher-end units reach 50–70 feet or more. For a standard front porch or garage side door, a 30-foot range usually suffices. Larger yards, driveways, or commercial applications benefit from extended range.
The detection angle (field of view) matters just as much. Most wall-mounted sensors offer 180-degree coverage when mounted on a flat wall, sweeping left and right from the fixture. Corner-mounted units with 270-degree sensors cover three directions. Installing a 90-degree sensor in a spot that requires 180-degree coverage leaves blind spots.
Adjustable sensitivity allows fine-tuning to prevent false triggers from small animals, windblown branches, or passing cars. Sensitivity controls range from simple high/medium/low dials to app-based adjustments on smart fixtures. Properties near streets or wooded areas often need lower sensitivity settings to avoid constant activation, while isolated locations can run higher sensitivity without nuisance triggers.
Brightness Levels and Light Output Options
Light output is measured in lumens, the higher the number, the brighter the light. Security-focused installations typically need 700–1,300 lumens to clearly illuminate faces and deter intruders. Pathway or accent applications work fine with 300–600 lumens.
Many modern fixtures offer dual-brightness modes: a dim setting that provides ambient light at dusk, then full brightness when motion is detected. This feature balances security with energy efficiency and reduces light pollution for neighbors.
Color temperature affects visibility and aesthetics. Measured in Kelvin, outdoor security lights typically range from 3,000K (warm white) to 5,000K (daylight). Warm white blends better with traditional home styles, while daylight temperatures improve visibility and color rendering, useful for identifying details like vehicle colors or facial features.
Look for fixtures with replaceable or integrated LED modules. Integrated LEDs keep the fixture compact but require replacing the entire unit when the LED fails. Replaceable bulbs (usually E26 medium base or GU24) allow easy swaps and the flexibility to upgrade to higher lumens or different color temperatures later.
Best Placement Strategies for Maximum Coverage and Efficiency
Proper placement multiplies the effectiveness of any motion sensor light. Poor positioning creates blind spots, triggers false alarms, or wastes coverage area on landscaping instead of entry points.
Mount height significantly impacts detection range. Installing a fixture 8–10 feet above ground provides optimal downward angle for most PIR sensors. Mounting too low narrows the detection field and makes the sensor easier to tamper with. Mounting too high, above 12 feet, can reduce sensitivity to ground-level movement and make adjustment controls hard to reach.
Aim the sensor where people walk, not where they might be. PIR sensors detect motion most reliably when movement crosses the detection zone side-to-side rather than approaching directly toward the sensor. Position the fixture so the detection field covers driveways, walkways, and doorways at an angle rather than head-on.
Avoid heat sources like HVAC vents, dryer exhausts, or direct sunlight hitting the sensor lens. These create temperature fluctuations that confuse PIR sensors and cause false triggers. Similarly, keep the sensor clear of tree branches or shrubs that sway in the wind.
For multi-fixture coverage, map out overlapping detection zones rather than aiming for complete property coverage. Prioritize entry points (front door, garage entries, basement doors) and transition zones where someone would move from the street or driveway toward the house. A well-placed pair of lights at a garage and front entry often provides better security than four randomly placed fixtures.
Test the detection zone before finalizing wire connections. Most fixtures allow temporary power-up for walk tests. Have someone move through the expected coverage area from multiple angles while adjusting the sensor head position and sensitivity settings. This reveals blind spots before the wire nuts are twisted and the fixture is sealed.
Installation Tips and Common Mistakes to Avoid
Installing a motion sensor wall light requires basic electrical skills but isn’t complex if approached methodically. That said, several common errors trip up first-timers.
Turn off power at the breaker, not just the switch. Use a non-contact voltage tester on the wires in the junction box to confirm power is off before touching anything. Exterior lighting circuits sometimes share breakers with interior outlets or other exterior fixtures, so verify which breaker controls the box.
Most outdoor motion lights connect to a standard weatherproof electrical box (round or octagonal “pancake” boxes are common). If replacing an existing fixture, confirm the old box is securely fastened to a structural member, not just siding or sheathing, and that it’s rated for the new fixture’s weight. Heavy fixtures or those with large sensor heads may require a retrofit brace between studs or a surface-mount box anchored to blocking.
Wire connections follow standard practice: black (hot) to black, white (neutral) to white, and bare copper or green (ground) to the fixture ground screw and box ground. Use twist-on wire connectors rated for outdoor use. If the fixture includes a third wire (often red) for separate control of the sensor and light, follow the manufacturer’s diagram, this varies by model.
Apply a bead of silicone caulk around the fixture base where it meets the wall surface (not inside the box). This prevents water infiltration behind the fixture, which leads to rust, corrosion, and electrical shorts. Leave the bottom edge of the fixture uncaulked to allow any trapped moisture to drain.
Common mistakes to avoid:
- Skipping the gasket: Most fixtures include a foam or rubber gasket between the mounting plate and wall. Don’t leave it out, it’s part of the weatherproofing system.
- Over-tightening mounting screws: This compresses gaskets unevenly and can crack plastic fixture bodies. Snug is sufficient.
- Ignoring the photocell setting: If the light activates during daylight, check that the “dusk-to-dawn” or light-level control isn’t set to “test” or “override” mode.
- Mounting on vinyl siding without backing: Screws driven directly into vinyl with no solid backing behind it will pull out. Use a mounting block or install backing between studs.
After installation, adjust the timer duration to match actual need. Shorter times (1–3 minutes) work well for quick trips to the car or front door. Longer durations (5–10 minutes) suit areas where someone might be working or unloading groceries. Avoid maximum settings unless necessary, they waste energy and reduce the fixture’s deterrent effect by leaving the light on too long after activity stops.
If local codes require a permit for new exterior electrical work, pull one. Adding a fixture to an existing circuit usually doesn’t, but running new wiring or adding a circuit does. When in doubt, check with the local building department before starting.