Motion sensor outdoor wall lights have become a staple in modern home security and energy-efficient lighting. These fixtures automatically illuminate when they detect movement, offering hands-free operation that welcomes homeowners while deterring unwanted visitors. Unlike traditional porch lights that burn all night, motion-activated lights work only when needed, cutting electricity costs and bulb replacements. Whether mounting one by the garage, back door, or side entrance, homeowners get immediate visibility without fumbling for switches in the dark. This guide covers everything needed to choose, install, and maintain motion sensor wall lights that deliver reliable performance year after year.
Table of Contents
ToggleKey Takeaways
- Motion sensor outdoor wall lights enhance home security by startling potential intruders and alerting homeowners to movement, with studies showing homes featuring visible security measures are less likely to be targeted.
- A motion sensor outdoor wall light can reduce energy consumption by up to 95% compared to traditional porch lights, consuming as little as 11 kWh annually versus 263 kWh for incandescent alternatives.
- Select fixtures with 20–70 feet detection range, adjustable sensitivity, and LED bulbs rated 15 watts or less with lux-level controls to optimize security coverage while minimizing false triggers from wildlife.
- Mount motion sensor lights 6–10 feet high at front doors, garages, and side/back entrances, with the sensor angled to detect approaching movement rather than activate after someone has passed.
- Ensure all outdoor fixtures carry a minimum IP65 weather rating and feature corrosion-resistant materials like powder-coated aluminum or stainless steel to maintain reliable performance across climate conditions.
- Professional electrical installation is recommended for new wiring, while basic maintenance—cleaning sensor lenses, checking wire connections, and trimming vegetation—extends fixture lifespan significantly.
What Is a Motion Sensor Outdoor Wall Light?
A motion sensor outdoor wall light is a light fixture that mounts to an exterior wall and uses a built-in sensor, typically passive infrared (PIR), to detect motion within a defined range. When the sensor picks up heat signatures from people, animals, or vehicles, it triggers the light to turn on for a preset duration, usually 1 to 10 minutes.
These fixtures come in several configurations. Some integrate the sensor directly into the light housing, while others use a separate sensor module wired to the fixture. Most models include adjustable settings for sensitivity (how easily the sensor triggers), duration (how long the light stays on), and lux level (the ambient light threshold below which the sensor activates, typically dusk-to-dawn operation).
Modern units often feature LED bulbs as standard, offering 800 to 3,000 lumens with minimal power draw. Higher-end models may include dual-brightness modes: a dim setting for ambient light and full brightness when motion is detected. Some newer fixtures also offer smart home integration via Wi-Fi or Bluetooth, allowing remote control and scheduling through smartphone apps.
Why Install Motion Sensor Wall Lights Outside Your Home
The primary benefit is enhanced security. A sudden burst of light when someone approaches can startle potential intruders and alert homeowners to unexpected activity. According to the National Institute of Justice, homes with visible security measures, including motion-activated lighting, are less likely to be targeted.
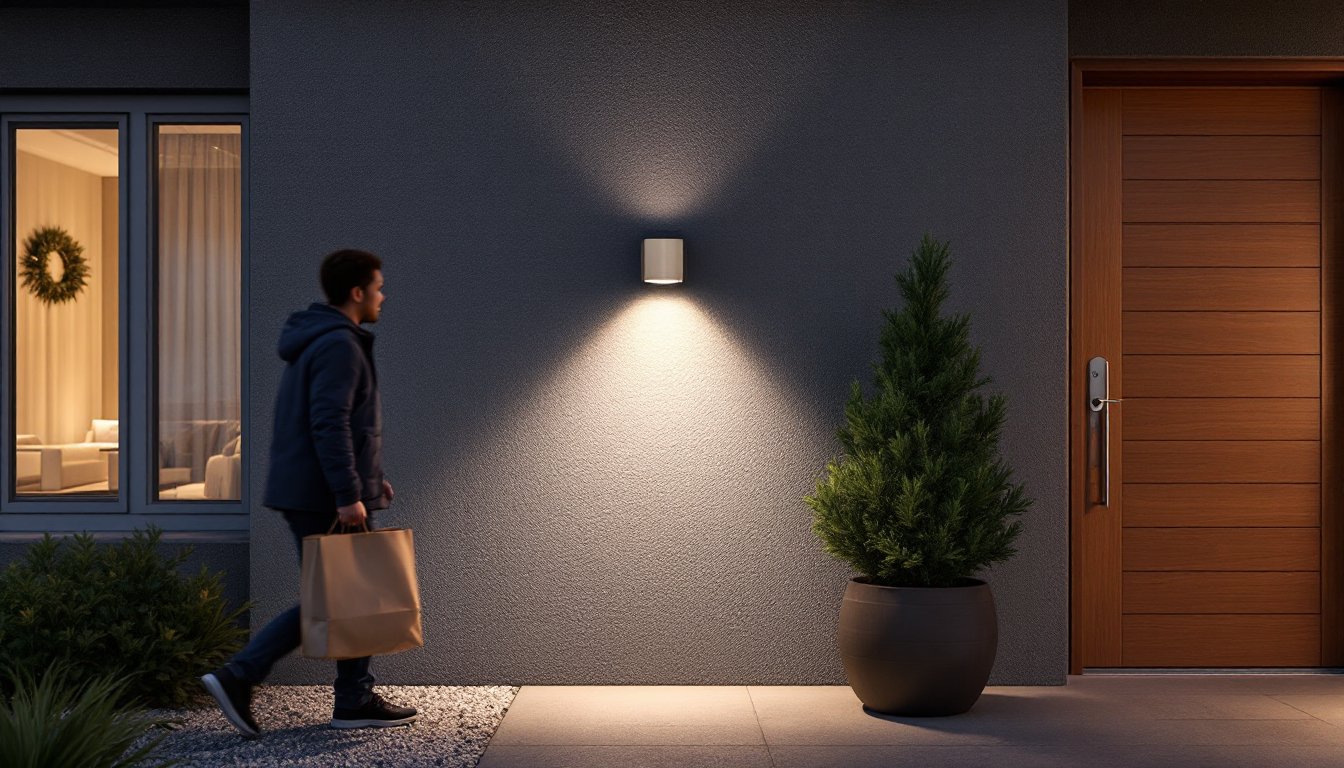
Convenience ranks as a close second. Homeowners carrying groceries, tools, or trash bags no longer need to set items down to flip a switch. The light comes on automatically and shuts off after they’re inside, eliminating wasted energy from lights left on overnight.
Energy savings add up over time. A traditional 60-watt incandescent porch light burning 12 hours nightly consumes roughly 263 kWh per year. A motion-activated LED light that runs only 30 minutes per night might use just 11 kWh annually, a 95% reduction in energy consumption.
Motion sensor lights also improve safety on walkways and stairs. Uneven steps, ice patches, and uneven pavement become visible the moment someone steps into range. This reduces trip-and-fall risks, especially for older adults or guests unfamiliar with the property layout.
Finally, these lights offer low-maintenance operation. Once installed and adjusted, they require no daily interaction. LED bulbs typically last 25,000 to 50,000 hours, meaning years of service without bulb changes.
Key Features to Look for When Choosing Your Outdoor Light
Not all motion sensor lights perform equally. The right fixture depends on the installation location, desired coverage, and local climate.
Detection Range and Sensor Sensitivity
Detection range defines how far the sensor can “see.” Most residential units offer 20 to 70 feet of range, measured from the fixture. A light mounted beside a front door needs less range (20–30 feet) than one covering a long driveway (50–70 feet).
Detection angle matters just as much. Standard sensors cover 180 degrees, ideal for wall-mounted fixtures that monitor the area in front of the house. Some models offer 240-degree or even 360-degree coverage, though 360-degree sensors typically require ceiling or eave mounting rather than wall installation.
Adjustable sensitivity lets homeowners fine-tune the sensor to ignore small animals while still triggering for people. This is critical in areas with frequent wildlife traffic. A sensitivity dial or app setting allows customization, set it too high, and every squirrel trips the light: set it too low, and it may miss actual visitors.
Consider sensor placement within the fixture. Top-mounted sensors often provide better downward coverage for stairs and walkways, while side-mounted sensors excel at monitoring horizontal approaches along walls or fences.
Brightness Levels and Energy Efficiency
Lumen output determines how much light the fixture produces. For reference:
- 800–1,200 lumens: Suitable for small entryways, side doors, and pathways
- 1,500–2,500 lumens: Good for garages, driveways, and larger patios
- 3,000+ lumens: Appropriate for large yards, alleys, or commercial-grade security lighting
More lumens aren’t always better. Excessive brightness can create harsh glare, annoy neighbors, or wash out security camera footage.
Color temperature, measured in Kelvin, affects visibility and ambiance. Most outdoor security lights range from 3,000K (warm white) to 5,000K (daylight). Cooler temperatures (4,000–5,000K) render colors more accurately and improve visibility for security purposes, while warmer temperatures (3,000K) offer a more inviting appearance for entryways.
Energy efficiency goes hand-in-hand with LED technology. Look for fixtures rated at 15 watts or less that still deliver 1,500+ lumens. Compare the lumens-per-watt ratio: higher is better. A fixture producing 100 lumens per watt outperforms one delivering 75 lumens per watt.
Check for an Energy Star certification or similar rating, which indicates the fixture meets efficiency standards. Some models include photocell sensors that prevent the light from activating during daylight, even if motion is detected, further reducing unnecessary runtime.
Weather resistance is non-negotiable for outdoor use. The fixture should carry a minimum IP65 rating (protection against dust and water jets from any direction). For coastal areas or regions with heavy snow, consider IP66 or IP67-rated fixtures. Ensure the housing is made of corrosion-resistant materials like powder-coated aluminum, stainless steel, or heavy-duty polycarbonate.
Best Locations to Install Motion Sensor Outdoor Wall Lights
Strategic placement maximizes both security and functionality.
Front entryways are the most common installation point. Mount the fixture 6 to 8 feet above the ground, centered over or beside the door. This height provides even illumination for faces (important for doorbell cameras) while keeping the sensor above the reach of tampering.
Garage and driveway areas benefit from motion lighting, especially if the garage lacks windows or the homeowner arrives after dark. Mount fixtures on either side of the garage door or on adjacent walls to eliminate shadows behind vehicles. Aim for 8 to 10 feet of mounting height to cover the full width of the driveway.
Side and back doors are frequent entry points for burglars. These areas often lack streetlight coverage, making motion-activated lighting crucial. Position the light to cover the door and any nearby windows. If the door opens onto a narrow walkway between the house and fence, ensure the detection zone extends to the property line.
Walkways and staircases require careful angling. Mount the light so the sensor “looks” down the path of travel, triggering as someone approaches rather than after they’ve already passed. For stairs, position the fixture at the top, angled downward to illuminate each step.
Dark corners and blind spots around the home’s perimeter should be addressed. Areas blocked by landscaping, fences, or architectural features can hide intruders. Adding a motion light eliminates these vulnerabilities. Just ensure the sensor has a clear line of sight and isn’t obstructed by tree branches or eaves.
Avoid placing sensors where they’ll be triggered by street traffic, passing cars, or neighboring activity. Angling the sensor downward or adjusting its range can help reduce false triggers. Also, keep sensors away from heat sources like dryer vents, HVAC exhausts, or south-facing walls that absorb daytime heat, as these can cause erratic performance with PIR sensors.
Installation and Maintenance Tips for Long-Lasting Performance
Installing a motion sensor outdoor wall light is a manageable DIY project for those comfortable working with basic electrical wiring. But, if the installation involves running new wiring or modifying circuits, consult a licensed electrician, especially if local codes require permits for exterior electrical work.
Before starting, turn off power at the breaker and verify with a non-contact voltage tester that the circuit is dead. Most outdoor lights connect to a standard 120-volt circuit, often the same one feeding interior outlets or existing porch lights.
- Remove the old fixture (if replacing one). Disconnect the wires and unscrew the mounting bracket from the junction box.
- Inspect the junction box. It should be rated for outdoor use and securely fastened to a stud or blocking. If the box is loose or rusted, replace it with a weatherproof box rated for exterior installation.
- Connect the wires: Match black (hot) to black, white (neutral) to white, and green or bare copper (ground) to the ground wire or grounding screw. Use waterproof wire connectors and wrap connections with electrical tape for added protection.
- Mount the fixture to the junction box using the provided hardware. Ensure the gasket or rubber seal sits flush against the wall to prevent moisture intrusion.
- Adjust the sensor settings. Most fixtures have dials or switches for sensitivity, duration, and lux level. Start with mid-range settings and fine-tune over a few days based on performance.
- Test the light by walking through the detection zone at different angles and distances. Adjust the sensor head (if adjustable) to optimize coverage.
Safety gear: Wear safety glasses when drilling or working overhead, and use a sturdy ladder with a helper to stabilize it if working above 8 feet.
Maintenance is minimal but important. Every few months:
- Clean the sensor lens with a soft, damp cloth. Dirt, spider webs, and pollen can reduce sensitivity.
- Check the fixture for water intrusion. If moisture appears inside the lens, reseal the gasket or replace weatherstripping.
- Inspect wire connections annually, especially in areas with temperature extremes. Thermal cycling can loosen connections over time.
- Trim nearby vegetation that might grow into the sensor’s field of view or create false triggers.
For LED fixtures, bulb replacement is rare, but if the fixture uses replaceable bulbs, choose ones rated for outdoor use and match the original wattage and base type. Always turn off the power before changing bulbs.
If the light stops working, troubleshoot systematically: check the breaker, test the bulb (if replaceable), verify sensor settings haven’t been accidentally changed, and inspect for tripped GFCI outlets if the circuit includes one. If the sensor itself fails and the fixture is out of warranty, replacement is usually more cost-effective than repair.