Installing outdoor security cameras used to mean running wires, hiring electricians, and dealing with complicated DVR systems. Not anymore. The Blink Outdoor Camera offers a wire-free solution that homeowners can mount themselves in under an hour, no drilling through walls or fishing cables through attics. With battery-powered operation, weather-resistant housing, and cloud connectivity, Blink cameras have become a go-to choice for DIYers wanting reliable perimeter monitoring without the complexity of traditional wired systems. This guide walks through everything needed to choose, install, and maintain Blink outdoor cameras for effective home security.
Table of Contents
ToggleKey Takeaways
- The Blink Outdoor Camera is a wire-free, battery-powered security solution that homeowners can install in under an hour with no drilling or professional electrician required.
- Battery life typically lasts 12-18 months with standard use, but can be extended indefinitely with the optional Solar Panel Mount accessory for continuous trickle charging.
- Proper placement 7-10 feet high angled downward, with at least three bars of Wi-Fi signal strength, ensures optimal face capture and stable connection for the outdoor Blink camera system.
- Cold weather below freezing significantly reduces battery capacity and may require more frequent replacements, while the Blink Outdoor Camera maintains operational integrity in temperatures from -4°F to 113°F.
- A Blink Subscription Plan ($3-10/month) is most valuable for multi-camera setups or busy neighborhoods where person detection and motion zones eliminate alert fatigue from false triggers.
- Common issues like offline status, missed motion detection, and delayed notifications can usually be resolved by checking battery voltage, signal strength, Wi-Fi configuration (2.4 GHz required), and camera arm status in the app.
What Is the Blink Outdoor Camera and How Does It Work?
The Blink Outdoor Camera is a wireless, battery-powered security camera designed for exterior home monitoring. Manufactured by Amazon, it connects to a home’s Wi-Fi network and streams video to a smartphone app when motion is detected. Unlike hardwired cameras that require 120V electrical connections and professional installation, Blink units run on two AA lithium batteries and mount with nothing more than the included hardware.
The system operates through a Sync Module, a small hub that plugs into an outlet indoors and communicates with up to ten cameras via a proprietary low-power radio frequency. This design keeps battery drain minimal: cameras stay in a low-power sleep mode until motion triggers recording. When movement is detected within the camera’s field of view (up to 26 feet), it begins recording a clip and sends a push notification to the user’s phone.
Video resolution sits at 1080p HD, with infrared night vision that illuminates up to 20 feet in complete darkness. The camera’s PIR (passive infrared) motion sensor detects heat signatures from people, animals, and vehicles, though sensitivity can be adjusted in the app to reduce false alerts from swaying branches or passing cars.
One trade-off: there’s a slight delay between motion detection and recording start, typically 2-4 seconds. This latency means the camera might miss the very beginning of an event, so positioning matters. Aim cameras at approach paths (walkways, driveways) rather than directly at doors to capture subjects before they’re already at the threshold.
Key Features That Make Blink Outdoor Cameras Stand Out
Several features make Blink cameras practical for DIY home security:
Two-way audio allows users to speak through the camera via the app, useful for greeting delivery drivers or warning off prowlers. The speaker volume isn’t loud enough for long-range conversations, but it’s adequate within 15 feet.
Customizable motion zones let users define specific areas within the camera’s view to monitor, ignoring sections prone to false triggers like street traffic or neighboring yards. This feature requires a Blink subscription (more on that later) but significantly improves alert accuracy.
Temperature monitoring displays ambient conditions in the app. While not critical for security, it’s a handy reference for knowing when weather might affect camera performance.
Weather resistance is rated IP65, meaning the camera withstands rain, snow, and dust. It’s not submersion-proof, so avoid aiming sprinklers directly at it or mounting in spots where standing water accumulates.
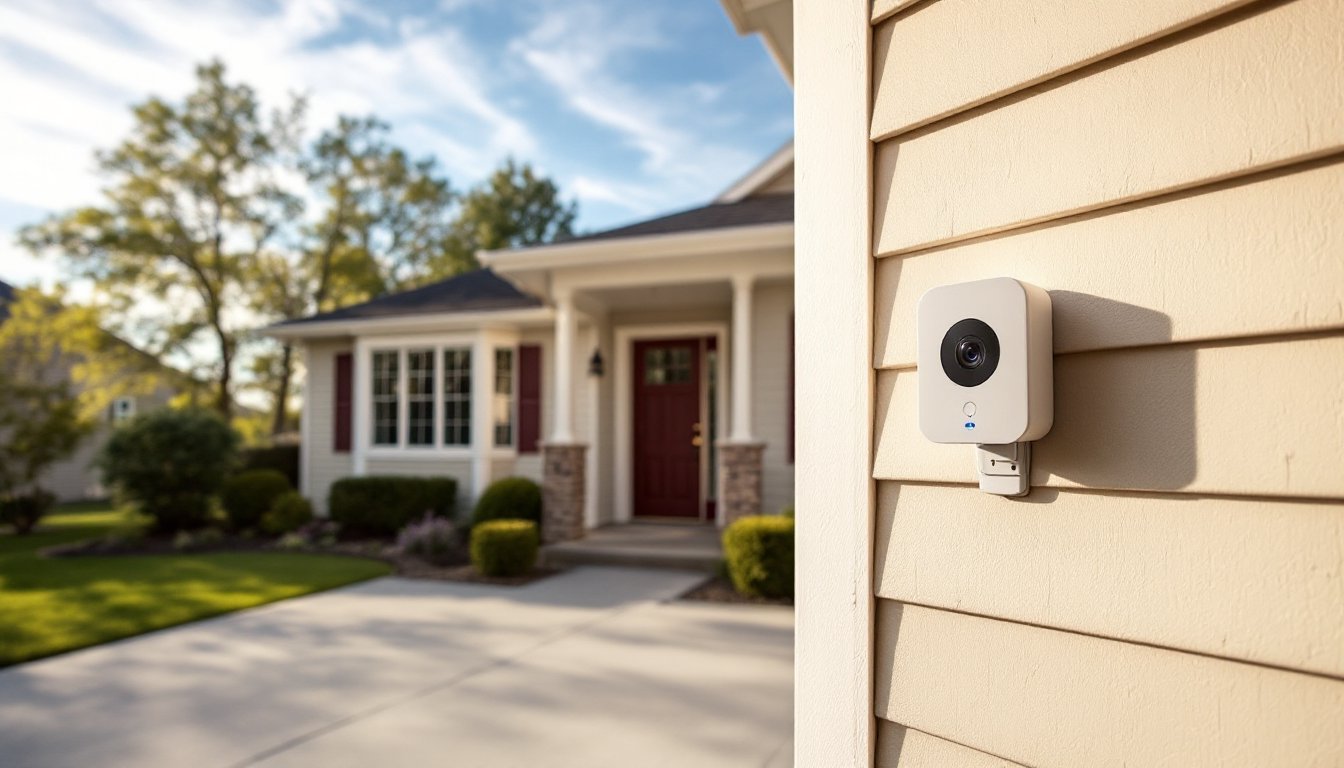
Easy mounting via the included bracket allows pan and tilt adjustment. The camera snaps onto the mount magnetically, making it simple to remove for battery changes without unscrewing anything. The mount itself attaches with two screws into exterior siding, brick, or soffit.
Battery Life and Power Options
Blink advertises up to two years of battery life on two AA lithium cells, but real-world performance varies. Cameras recording 20-30 clips per day in moderate climates typically last 12-18 months. Cold weather below 32°F can cut battery life by 30-40%, and high-traffic areas generating 50+ recordings daily may require replacement every 6-8 months.
Lithium batteries are required, alkaline cells drain too quickly and perform poorly in temperature extremes. Energizer Ultimate Lithium or Amazon Basics lithium batteries are solid choices.
For high-traffic locations, the Blink Solar Panel Mount provides continuous trickle charging. The panel connects via micro-USB and generates enough power to keep the camera topped off with just a few hours of daily sun exposure. It mounts near the camera (the cable is 10 feet long) and works well on south-facing walls or eaves with minimal shade. This accessory eliminates battery swaps but adds about $30 per camera to the total cost.
Setting Up Your Blink Outdoor Camera: Step-by-Step Installation
Installation requires basic hand tools and takes 30-45 minutes for a single camera. Here’s the process:
Materials and Tools Needed:
- Blink Outdoor Camera and Sync Module
- Two AA lithium batteries per camera
- Smartphone with the Blink Home Monitor app installed
- Drill with appropriate bit (masonry bit for brick/concrete, standard bit for wood/vinyl siding)
- Phillips screwdriver
- Pencil for marking
- Ladder (if mounting above 7 feet)
Installation Steps:
-
Set up the Sync Module first. Plug it into an interior outlet within Wi-Fi range and near the cameras’ intended locations. The Sync Module has a range of about 100 feet through typical wood-frame walls: brick, stucco, or metal siding reduces this. Open the Blink app, create an account, and follow prompts to add the Sync Module to your network.
-
Insert batteries into the camera. Peel the pull-tab on the back panel and load two lithium AAs with correct polarity. The camera will blink blue when powered on.
-
Add the camera in the app. Tap the “+” icon, select “Blink Outdoor,” and scan the QR code inside the camera’s battery compartment. Name the camera by location (“Front Porch,” “Driveway,” etc.).
-
Choose mounting locations carefully. Position cameras 7-10 feet high angled slightly downward for optimal face capture. Avoid aiming directly into sunrise/sunset to prevent glare and false motion alerts. Ensure there’s clear line-of-sight to areas you want monitored, doorways, gates, side yards, garage doors.
-
Test signal strength before drilling. Use the camera’s “Live View” function in the app to verify stable Wi-Fi and Sync Module connection at the intended mounting spot. Signal bars should show at least three out of five: two or fewer bars may cause delayed notifications or failed recordings.
-
Mount the bracket. Hold it against the surface, mark screw holes with a pencil, and drill pilot holes. For wood or vinyl siding, use the included screws. For brick or stucco, use appropriate masonry anchors (not included). Drive screws until snug but don’t overtighten, cracked mounting ears are a common DIY mistake.
-
Attach the camera and adjust angle. Snap the camera onto the mount, then tilt it to frame your desired view. Check the Live View in the app to confirm coverage.
-
Configure motion settings. Set motion sensitivity (start at medium and adjust from there), define activity zones if subscribed, and choose recording length (5 seconds to 60 seconds).
Safety note: Always wear safety glasses when drilling overhead. If mounting on a two-story home, use a stable ladder with a helper to foot it.
Performance in Different Weather Conditions and Environments
Blink Outdoor Cameras operate in temperatures from -4°F to 113°F, but performance isn’t uniform across that range.
Cold weather is the biggest challenge. Below freezing, lithium batteries lose capacity rapidly. Cameras in northern climates or shaded north-facing walls may need battery swaps every few months in winter. Infrared night vision remains effective, but clip recording may occasionally fail if voltage drops too low during heavy use. Mounting under eaves or in soffits provides some thermal protection.
Heat and direct sun rarely cause shutdowns, but extreme temps above 100°F can trigger temporary offline status until the unit cools. More problematic is lens flare and washed-out daytime video when cameras face east or west. Position cameras with afternoon shade when possible, or angle them to keep the sun out of frame.
Rain and snow don’t damage IP65-rated cameras, but heavy precipitation can obscure the lens or trigger false motion alerts from moving water. Mounting under eaves or porch overhangs minimizes this. Clean the lens quarterly with a microfiber cloth, dust, pollen, and spider webs degrade image quality.
High-wind areas can cause mounting bracket wobble if not secured properly. In coastal or storm-prone regions, add a dab of thread-locking compound (like Loctite Blue) to screws during installation to prevent loosening over time.
One overlooked factor: Wi-Fi interference. Cameras near thick exterior walls, metal siding, or dense landscaping may struggle to maintain connection. Stone or brick homes often need the Sync Module positioned in a window or exterior wall outlet to improve signal penetration.
Subscription Plans vs. Free Storage: What You Need to Know
Blink offers two storage options: free local storage via USB drive, or cloud storage through a Blink Subscription Plan.
Free local storage requires a USB flash drive (sold separately) plugged into the Sync Module 2 (the newer model with a USB port). Clips save directly to the drive instead of the cloud, and there’s no monthly fee. Users can review footage by removing the drive and plugging it into a computer, or access it through the app if connected. This works fine for basic monitoring, but it lacks advanced features and doesn’t support sharing clips easily.
Blink Subscription Plans offer cloud storage with extended features:
- Basic Plan: $3/month per camera or $30/year. Includes 60 days of cloud storage, person detection alerts, and customizable motion zones.
- Plus Plan: $10/month or $100/year for unlimited cameras at a single location. Same features as Basic but covers an entire property.
The subscription’s real value is in person detection and motion zones. Without these, cameras trigger on every car, shadow, or squirrel, flooding the app with useless notifications. For homes with high ambient activity (busy streets, lots of wildlife), the subscription pays for itself in reduced alert fatigue.
Which makes sense? Single-camera setups monitoring low-traffic areas (backyard gates, side doors) can skip the subscription and use local storage. Multi-camera systems or front-facing cameras in busy neighborhoods benefit significantly from the Plus Plan’s filtering and extended cloud history.
Common Issues and Troubleshooting Tips
Even straightforward systems hit snags. Here’s how to solve the most common Blink problems:
Camera shows offline: Check battery voltage first, low batteries are the leading cause. If batteries are fresh, verify Wi-Fi signal strength by moving the Sync Module closer to the camera or the router. Thick walls and metal framing kill signal.
Motion detection not working: Confirm the camera is armed in the app (easy to overlook). Next, check motion sensitivity settings, if set too low, it won’t trigger. PIR sensors also struggle with motion moving directly toward or away from the camera: they detect best when subjects cross the field of view laterally.
Night vision is dark or grainy: Clean the lens and check for obstructions within 3 feet, the IR illuminator reflects off nearby surfaces. Infrared doesn’t penetrate glass, so cameras mounted inside windows won’t work at night.
Delayed notifications: This is partly inherent to the system’s battery-saving design. Ensure the camera isn’t recording excessively long clips (drains battery and delays processing). Reduce clip length to 10-15 seconds and increase retrigger time to 30 seconds between recordings.
Sync Module won’t connect: Blink requires a 2.4 GHz Wi-Fi network: it doesn’t work with 5 GHz-only routers. Check router settings and create a 2.4 GHz network if needed. Also disable VPNs and ad-blocking software during setup, they can interfere with device registration.
Image quality is blurry: Blink cameras don’t autofocus: the lens is fixed-focus optimized for 6-20 feet. Subjects too close (within 4 feet) or too far (beyond 30 feet) appear soft. Reposition the camera if necessary.
If problems persist after basic troubleshooting, remove and re-add the camera in the app. This resets settings and often clears firmware glitches.